Woodland Scenics Ballast and Ground Cover: A Hands-On Review
Welcome back to Miniature Railroad Model Building! Today, we’re diving deep into the world of adding realism to your railroad layout – specifically, we're looking at Woodland Scenics ballast and ground cover products. These are staples for many model railroaders, and for good reason. They offer a wide variety of textures and colors to convincingly recreate the earth and vegetation found alongside train tracks.
This isn’t just a product listing; this is a hands-on review. We’ll cover the range of products, discuss application techniques, and share tips for achieving truly realistic results. Whether you’re a beginner just starting your first layout or a seasoned modeler looking to refine your skills, there’s something here for everyone.
The Woodland Scenics Ballast Selection
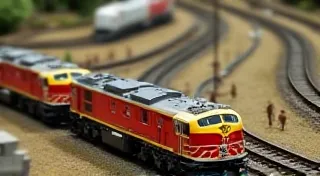
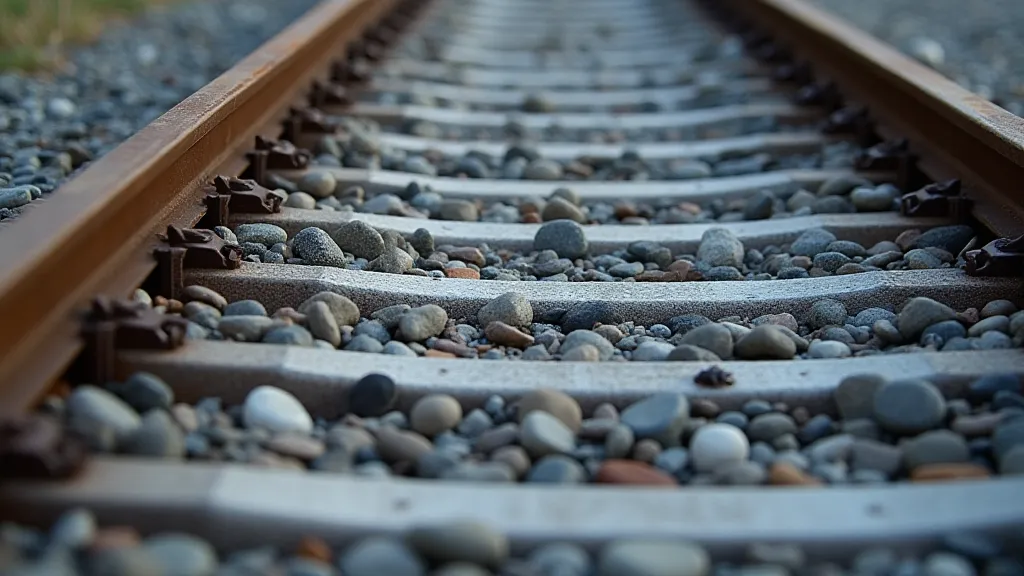
Woodland Scenics offers a frankly overwhelming array of ballast options. They're categorized primarily by color and particle size, and often reflect specific geographic regions. You're not limited to just "gray" – you're looking at options like "Dark Brown Shale," "Cream Limestone," "Reddish Clay," and many more. The key to success here is understanding what your prototype looks like. Observing photos of real-world railroads in the area you’re trying to recreate is invaluable.
Beyond color, consider the particle size. Larger ballast looks best on main lines and industrial areas. Smaller ballast is perfect for yard tracks or areas with lighter traffic. Woodland Scenics offers a good range to allow you to match your needs.
Applying Ballast: Techniques for a Natural Look
Simply dumping ballast onto the track isn't the way to go. Here’s a breakdown of effective application techniques:
- Prepare the Subroadbed: Ensure your subroadbed (usually cork or foam) is clean and free of dust.
- Use a Thin Adhesive: Woodland Scenics ballast adhesive is a popular choice, but diluted white glue (PVA) also works well. Apply it sparingly! Too much adhesive will create a shiny, unnatural look. A spray bottle is ideal for even coverage.
- Apply in Layers: Don’t try to cover the entire trackbed in one go. Apply a thin layer of adhesive, sprinkle on ballast, let it dry, and repeat. This builds up a more realistic depth.
- Tamp Down Carefully: Gently tamp down the ballast with a small brush or your fingers. This helps the ballast settle and creates a more consistent surface.
- Weathering: This is *critical*. Dry pigments from Woodland Scenics (or other brands) are fantastic for weathering ballast. Apply them lightly with a brush, focusing on areas that would naturally accumulate dirt and grime.
Ground Cover: Bringing Vegetation to Life
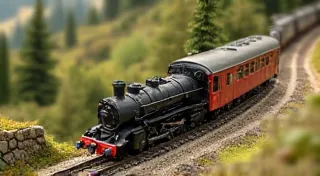
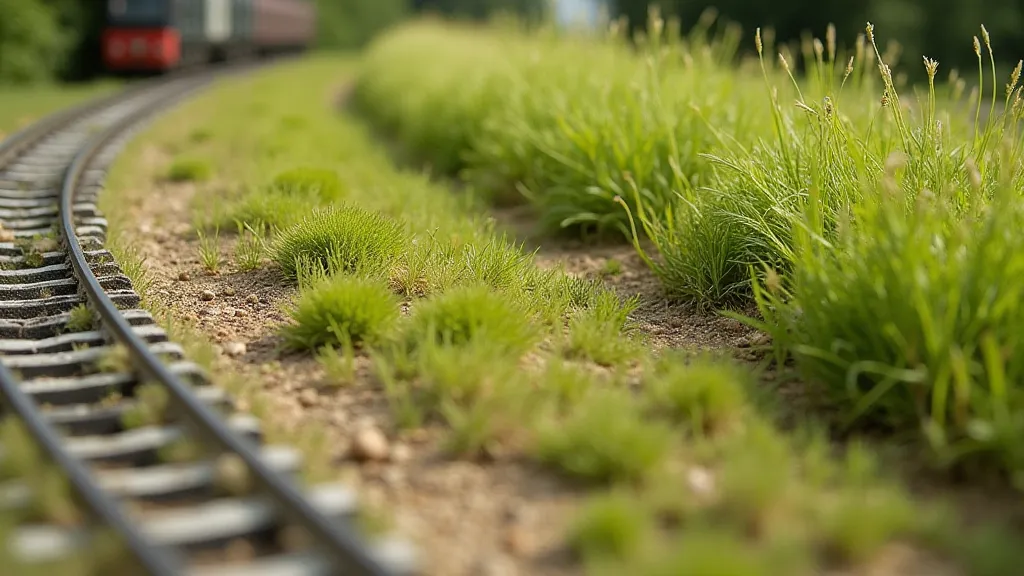
After ballast, ground cover is the next essential element for a believable landscape. Woodland Scenics provides an extensive range of ground cover products, from fine turf to coarser grasses and even leaf litter. Like ballast, variety is key. Don't just use one type of ground cover; mix and match to create a more natural appearance.
Application is relatively straightforward. Apply diluted white glue in small areas, sprinkle on the ground cover, and gently press it into the adhesive. Again, layering can be beneficial for creating depth and texture.
Tips and Tricks for Exceptional Results
- Reference Photos are Your Friend: Continuously refer to photos of the prototype railroad you're modeling. This will guide your color choices and application techniques.
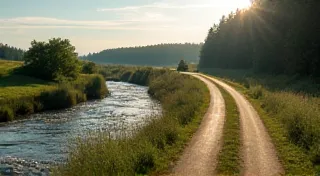
- Don't Overdo It: Less is often more. Resist the temptation to completely cover every inch of your layout with ground cover. Leave some bare earth showing to add realism.
- Experiment with Texture: Combine different types of ground cover to create more interesting textures.
- Consider the Scale: Pay attention to the scale of your layout when choosing ground cover. What looks realistic in HO scale might look out of proportion in N scale.
- Use a Fine-Tip Applicator: A fine-tip applicator allows for precise placement of ground cover in hard-to-reach areas.

Conclusion
Woodland Scenics ballast and ground cover products are excellent tools for creating realistic railroad landscapes. While the sheer variety can be initially daunting, understanding the principles of realistic application and continually referencing prototype examples will yield impressive results. Happy modeling!