Wiring Your Model Railroad: A Beginner's Guide to Power Distribution
So, you're building a miniature railroad! The scenery, the locomotives, the rolling stock – it's all incredibly rewarding. But before your trains can chug along, you need to ensure they have power. Wiring a model railroad can seem daunting, but with a little understanding of the basics, it's entirely manageable. This guide will walk you through the fundamental concepts without getting bogged down in technical jargon.
Why is Wiring Important?
Reliable power is the lifeblood of your model railroad. Fluctuations or interruptions can lead to trains stalling, derailments, and frustration. Proper wiring ensures consistent voltage and helps prevent shorts. Think of it as laying the tracks – it’s the foundation for everything else.
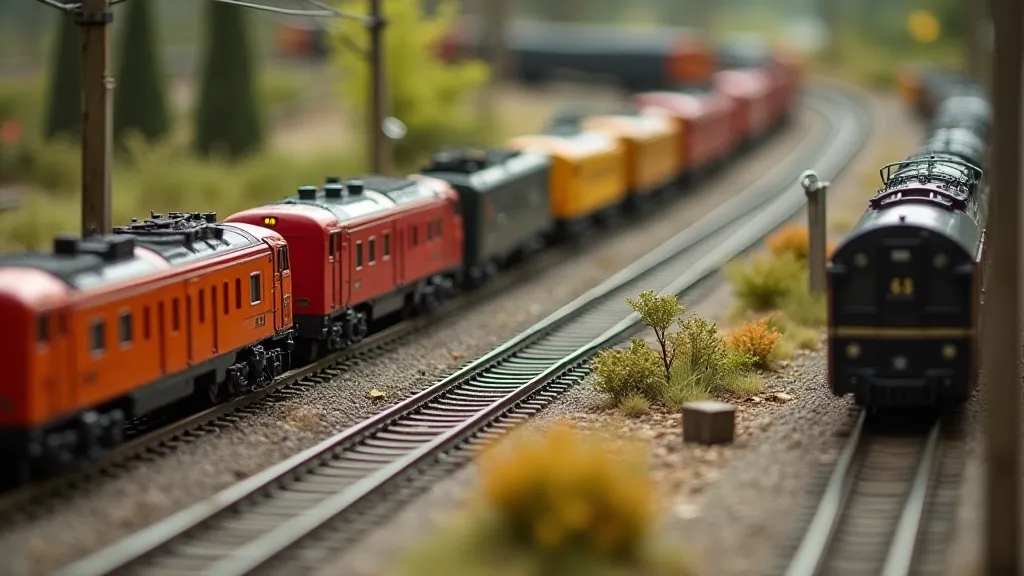
Understanding Power Districts
A large railroad layout isn’t usually wired as a single, continuous loop. Instead, it’s divided into “power districts.” A power district is a section of track that's independently powered. Why do this? It isolates problems. If one section has a short circuit, it won't bring down the entire layout. It also allows for more flexible control – for example, you might want to run a train on one district and leave another dormant.
The Power Supply: Your Starting Point
Your power supply is where it all begins. It converts household AC voltage to the DC voltage your model trains require (typically 12-18 volts). Choose a power supply with enough amperage (amps) to handle all the trains you plan to run simultaneously. It’s always better to have a little extra capacity.
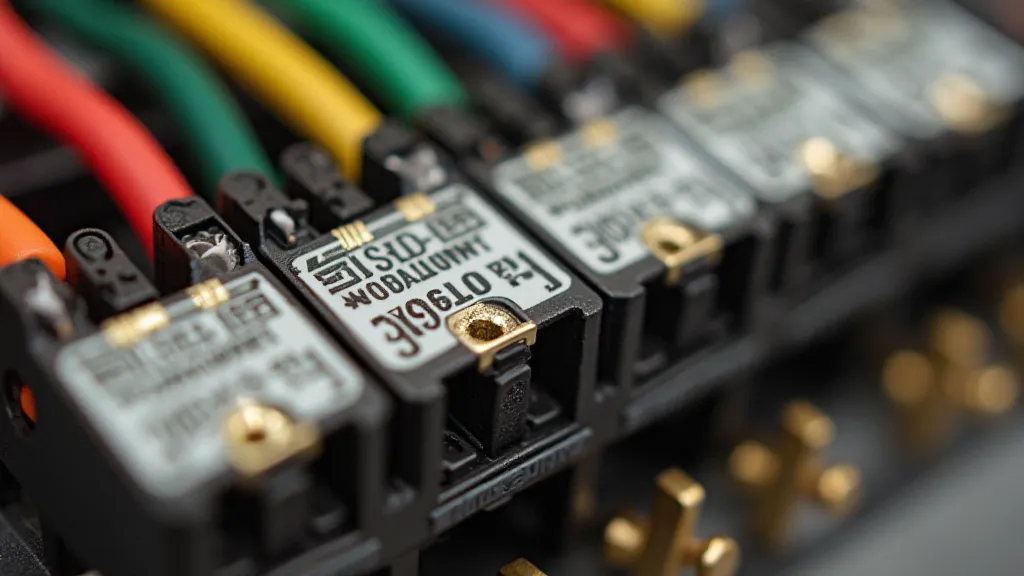
Bus Wiring: The Main Distribution Line
The "bus" is the main distribution line that carries power from your power supply to the various power districts. Think of it as the highway system of your layout. It’s typically made up of thicker wires (compared to the wires connecting to individual sections of track) to handle the increased current. It's common practice to use two bus wires – a positive and a negative – to ensure efficient power delivery.
Connecting Power Districts to the Bus
Each power district receives power from the bus. Simple wiring connections using terminal blocks or solder are usually sufficient. Remember to clearly label each connection so you can troubleshoot later.
Grounding: Essential for Stability
Proper grounding is crucial. This essentially means connecting all the negative rails of each power district to a common ground point. This helps eliminate electrical noise and ensures a stable power supply.
Keeping it Organized: Wire Management
As your layout grows, wiring can become a tangled mess. Use wire ties, conduit, or other organizational tools to keep your wires neat and accessible. A well-organized wiring scheme will save you a lot of headaches during maintenance and troubleshooting.
Basic Wiring Diagram
While specific configurations will vary depending on your layout's complexity, here's a simplified overview:
- Power Supply -> Bus Wiring (Positive and Negative) -> Power Districts (connected to track feeders)
- All Power Districts connected to a Common Ground
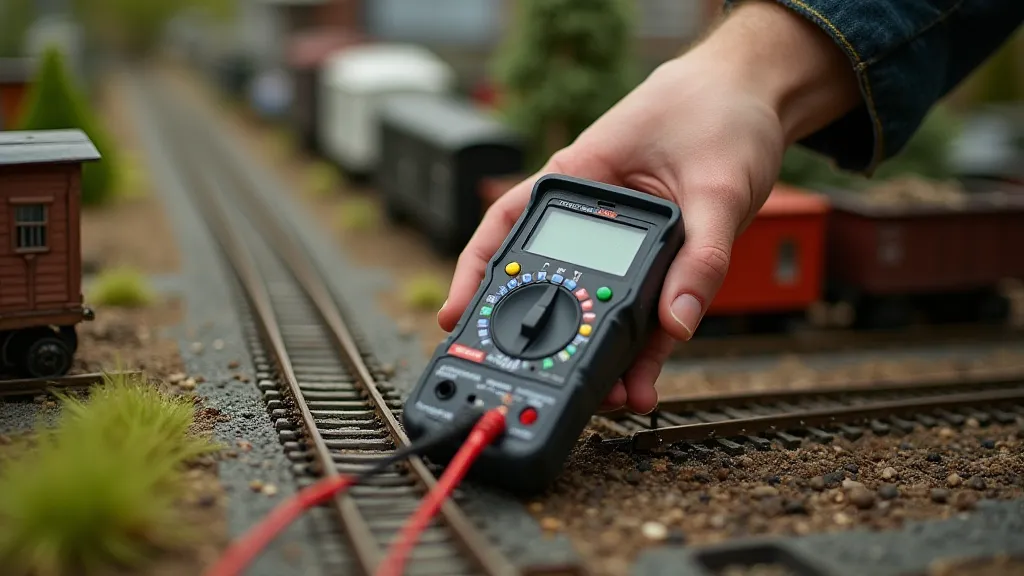
Testing Your Wiring
Before you run your trains, test your wiring! Use a multimeter to check for shorts, measure voltage at various points, and ensure that everything is functioning correctly. This simple step can prevent a lot of problems down the road.
Further Exploration
This guide covered the basics. As you become more comfortable, you can explore advanced techniques like DCC (Digital Command Control) and incorporating accessories powered by the same system. But mastering these fundamental principles will provide a solid foundation for building a reliable and enjoyable miniature railroad!