Beginner's Guide to Railroad Layout Planning: From Concept to Design
So, you've caught the train hobby bug and are dreaming of a sprawling miniature railroad layout? Fantastic! Building a model railroad is a rewarding experience, but a little planning goes a long way. This guide will walk you through the essential steps to get your first layout underway, helping you avoid common beginner pitfalls.
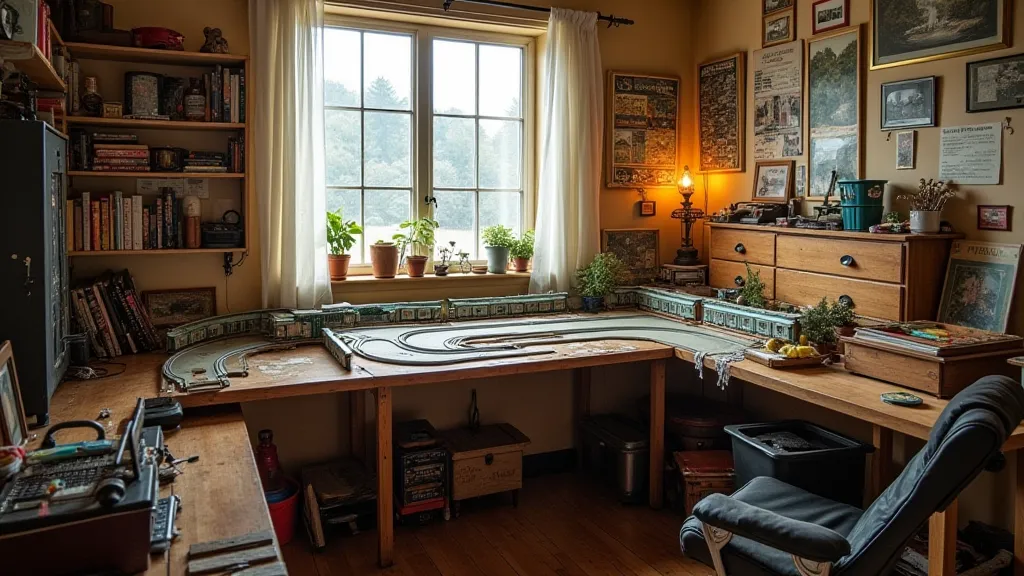
1. Space Assessment: How Much Room Do You Really Have?
This is the most crucial first step. Don't just think about the footprint – consider ceiling height, access for maintenance, and future expansion possibilities. A smaller, well-planned layout is far more enjoyable than a massive, unfinished one.
- Dedicated Space? A spare room is ideal, but basements, garages, or even sections of a living room can work.
- Size Matters: Consider the scale of your trains (HO, N, O, etc.). Larger scales (like O) need significantly more space.
- Think Vertical: Don’t underestimate the possibilities of a multi-level layout.
2. Defining Your Theme & Scope
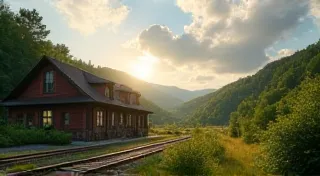
What kind of railroad do you envision? A scenic mountain railway? A bustling industrial area? A rural passenger line? Having a theme guides your design and scenery choices. Also, determine the scope of your layout. Are you aiming for a continuous loop, or something more complex with multiple branches?
- Era & Location: Decide on a specific era (e.g., steam age, diesel era) and geographical location. This adds authenticity and helps narrow your modeling choices.
- Operation vs. Appearance: Do you prioritize realistic train operations (complex switching, grades, tunnels) or a visually impressive display? A balance is usually best.
3. Track Planning Software & Basic Design
While sketching on paper is a great starting point, track planning software significantly simplifies the design process. Popular options (many are free) allow you to experiment with different track arrangements quickly.
- Popular Software: SCARM, AnyRail, XTrackCAD. These programs allow you to place track, calculate grades, and generate track lists.
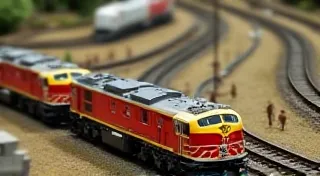
- Basic Layout Shapes: Start with simple shapes like loops, dogbones, or figure eights.
- Grade Considerations: Steep grades can limit train performance. Keep grades reasonable, especially for passenger trains.
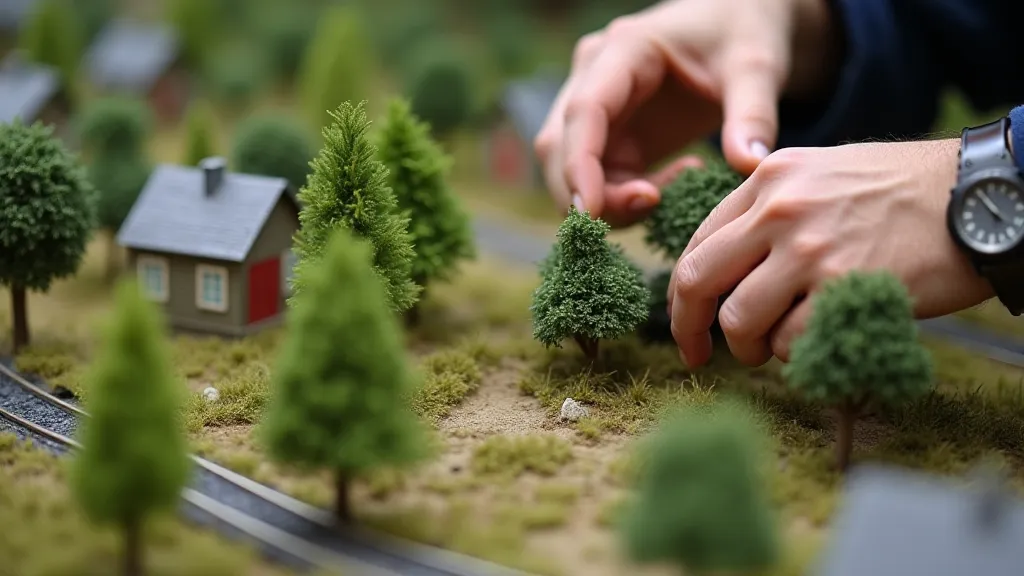
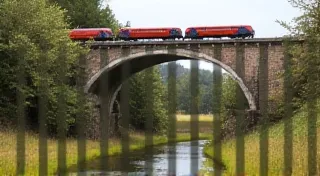
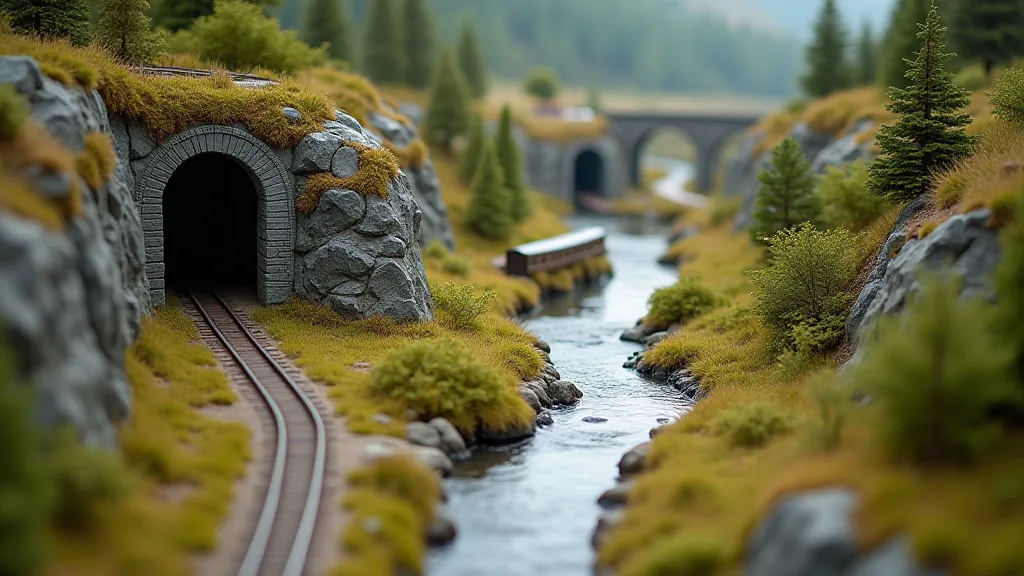
4. Elevation & Scenery Planning
A flat layout can be visually boring. Adding elevation – hills, mountains, valleys – creates visual interest and allows for more realistic track arrangements.
- Foam & Cardboard: Affordable materials for building basic terrain.
- Plaster Cloth: A great way to create a smooth base for scenery.
- Realistic Scenery: Use natural materials (rocks, trees, grass) to create a believable landscape.
5. Avoiding Common Beginner Mistakes
Learning from others' mistakes can save you time and frustration. Here are a few common pitfalls to avoid:
- Too Much Track, Too Little Space: Don’t cram too much track into a limited space.
- Ignoring Maintenance Access: Ensure you can reach all areas of the layout for repairs and cleaning.
- Unrealistic Grades: Keep grades moderate to avoid derailments and slow running.
- Ignoring Electrical Considerations: Plan your wiring carefully and use appropriate power supplies.
- Rushing the Process: Building a model railroad is a marathon, not a sprint. Take your time and enjoy the journey!
6. Final Thoughts
Planning your miniature railroad layout is an exciting part of the hobby. By taking the time to assess your space, define your vision, and avoid common mistakes, you’re setting yourself up for a rewarding and enjoyable experience. Remember to have fun and be creative!