Designing Your First Miniature Railroad Layout: A Beginner's Guide
So, you’re excited about the world of model trains and ready to build your first railroad layout! It's a wonderfully rewarding hobby, but the prospect can feel overwhelming. Don't worry; this guide will break down the essential steps to get you started on the right track.
1. Choosing Your Scale
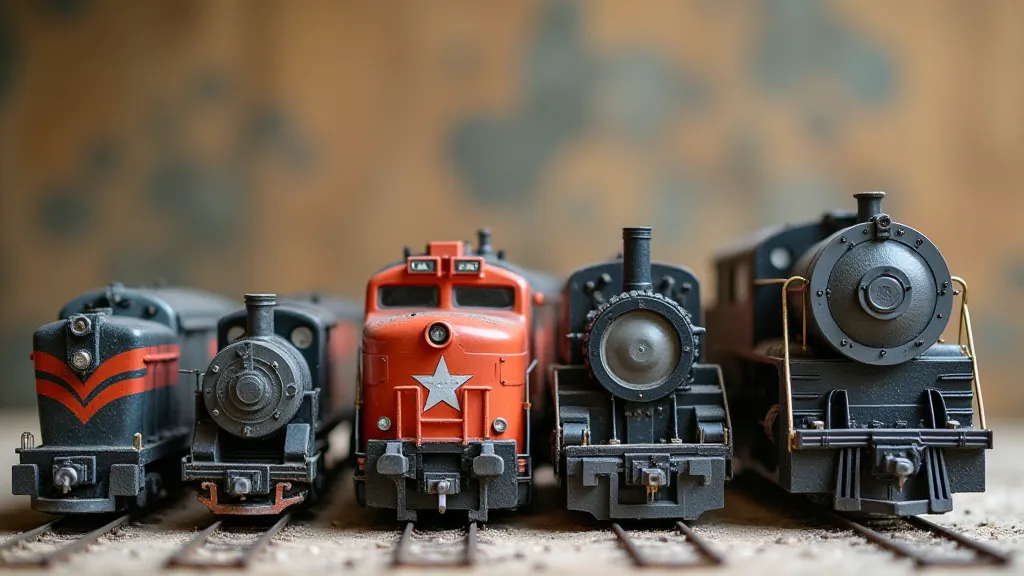
The first and most important decision is selecting a scale. Different scales represent different sizes of the real-world trains and scenery. Here’s a quick rundown of popular choices:
- HO Scale: The most popular scale, offering a good balance between detail and space requirements.
- N Scale: Smaller than HO, ideal for those with limited space.
- O Scale: Larger than HO, offering impressive detail but needing significantly more room.
- G Scale: Very large, often used outdoors.
Consider the space you have available and the level of detail you desire when making your decision.
2. Assessing Your Space
Once you're settled on a scale, evaluate the area you have dedicated to your layout. This doesn’t need to be a huge room! A corner, a table, or even a large shelf can work. Measure the available space accurately; this information will be vital for planning track and scenery.
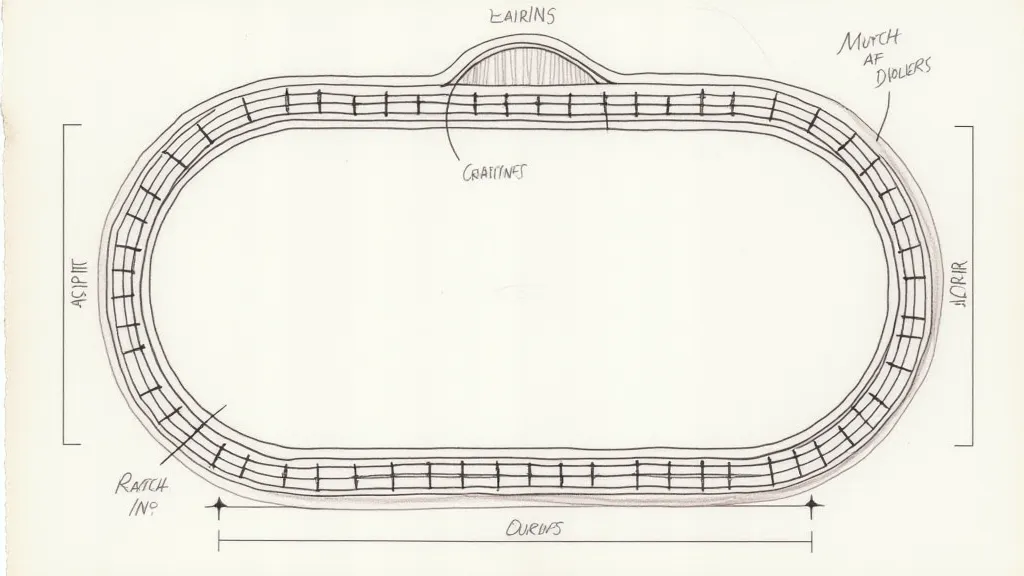
3. Planning Your Layout Type
There are several common layout types, each with its own advantages:
- Loop Layout: Simple and classic, a circular track allowing continuous operation. Good for beginners.
- Point-to-Point: Simulates a real-world railroad, with trains traveling from one point to another. Adds realism and operating possibilities.
- Dogbone Layout: A variation of the loop, longer and more interesting visually.
- Folded Layout: Uses vertical space to create the illusion of greater length within a limited area.
Think about what kind of experience you want to create. Do you want continuous running, or a more realistic operation?
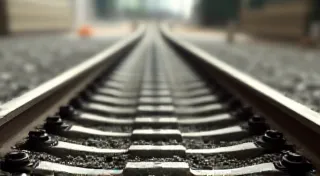
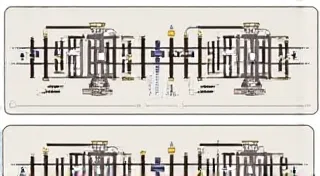
4. Track Planning – The Foundation
Now comes the exciting part: laying out the track! Start with a basic track plan, even if it’s just a rough sketch on paper. Consider these factors:
- Minimum Radius: Ensure your trains can navigate the curves comfortably.
- Grades: Avoid steep grades that will strain your locomotives.
- Sidings & Switching: Add sidings for staging trains and adding operational interest.
- Scenery Integration: Think about how the track will blend with the surrounding landscape.
Don't be afraid to experiment! There are many track planning software programs (some free) that can help you visualize your layout.
5. Essential Tools for Beginners
You don’t need a fully equipped workshop to get started. Here are a few essential tools:
- Track Section Clippers/Cutters: For shortening track sections.
- Track Alignment Tool: To ensure track is laid straight and level.
- Screwdrivers & Pliers: For various assembly tasks.
- Level: Crucial for a realistic and functional layout.
- Glue (PVA or similar): For securing track and scenery.
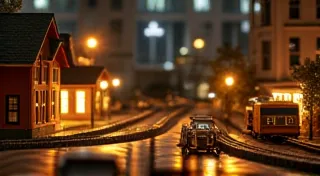
6. Bringing Your Layout to Life: Scenery
Once the track is laid, it’s time for scenery! This is where your creativity shines. Use materials like:
- Foam Board: For creating terrain.
- Plaster Cloth: To create a base for ground cover.
- Ground Cover (Turf, Sand, Gravel): To simulate the earth.
- Trees & Shrubs: For adding detail and realism.
- Figures & Structures: To populate your miniature world.
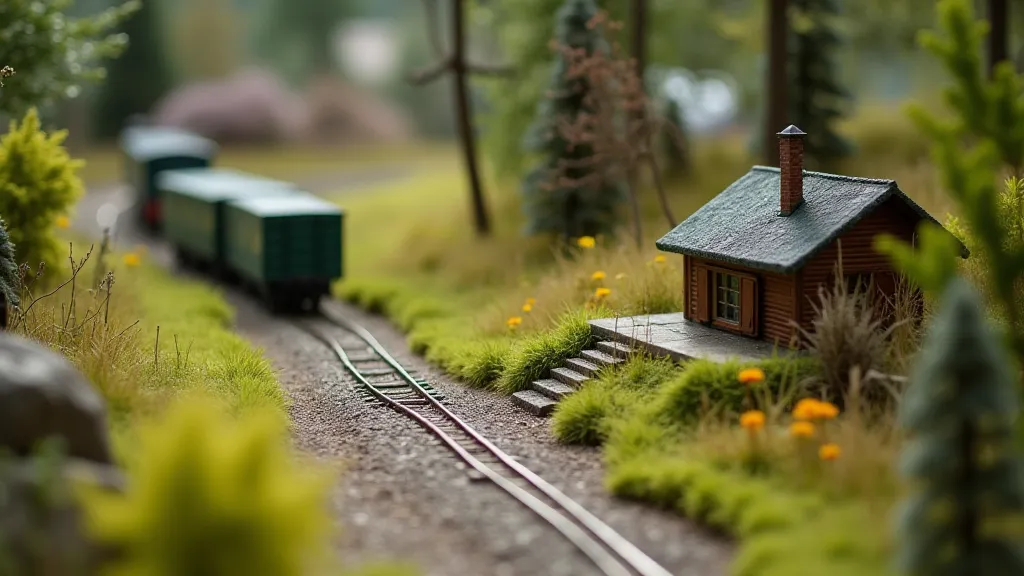
Start with simple techniques and gradually increase your complexity as you gain experience. Building a miniature railroad layout is a journey, so enjoy the process!