Using Foam Board for Model Railroad Scenery
Foam board is an incredibly versatile and affordable material that's rapidly gaining popularity among model railroaders. It’s lighter, easier to work with, and often more cost-effective than traditional methods like plaster or wood. This guide will introduce beginners to the basics of using foam board to create realistic terrain and structures for your model railroad layout.
What is Foam Board?
Foam board, also known as foam core, is a lightweight board made of a polystyrene foam core sandwiched between two layers of paper. It's commonly used for crafts, signage, and, increasingly, model railroading. You can find it at most craft stores or online in various thicknesses (typically 1/8", 1/4", and 1/2"). For most modeling projects, 1/8" or 1/4" foam board provides a good balance of strength and workability.
Basic Tools You'll Need
- Craft Knife or X-Acto Knife: Essential for cutting foam board. Keep the blades sharp for clean cuts.
- Metal Ruler: A straight edge is crucial for accurate cuts.
- Cutting Mat: Protects your work surface and extends the life of your knife blades.
- Hot Glue Gun: Provides quick and strong bonds.
- Sandpaper (various grits): For smoothing edges and creating textured surfaces.
- Pencil or Marker: For marking cut lines.
- Foam Board Adhesive: If you prefer an alternative to hot glue.
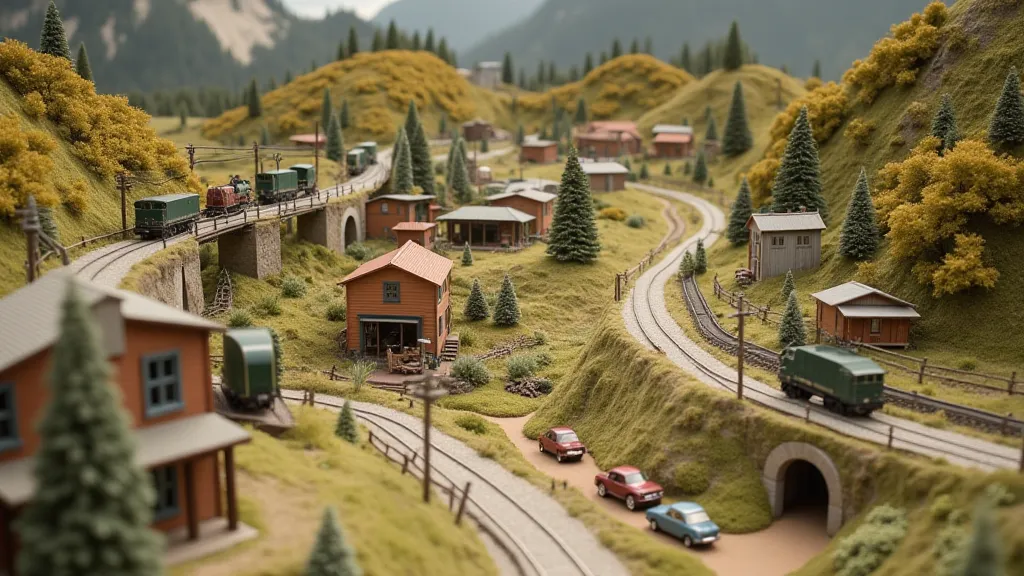
Creating Terrain with Foam Board
Foam board is perfect for shaping the landscape of your layout. Here's how:
1. Planning and Design
Sketch out your desired terrain features – hills, valleys, rivers, etc. Consider the scale of your layout and the overall aesthetic you’re aiming for. Simple curves and slopes are easiest to start with.
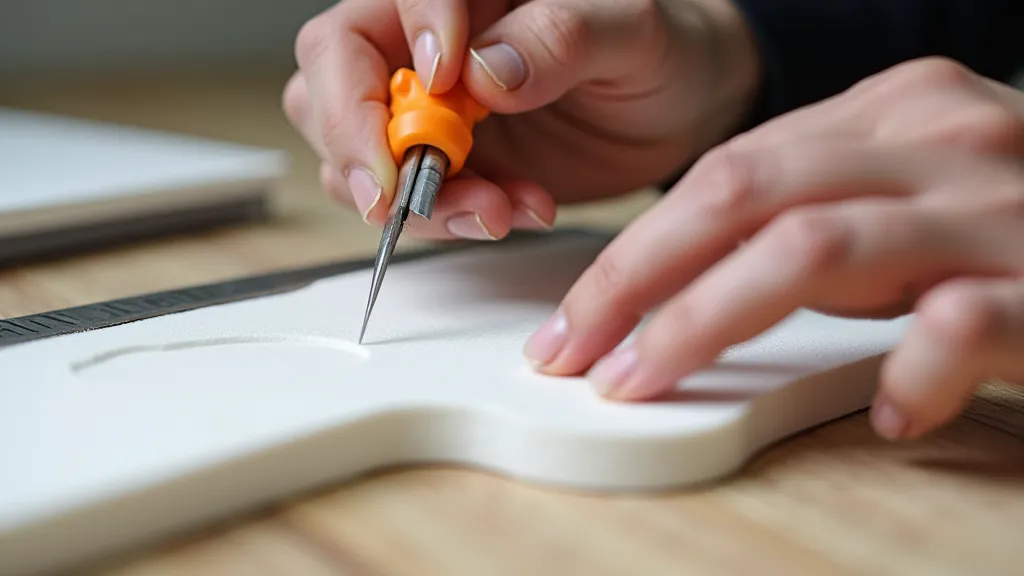
2. Cutting the Foam
Transfer your design onto the foam board using a pencil. Use a sharp craft knife and metal ruler to make multiple passes – don't try to cut all the way through in one pass. This will result in a cleaner cut.
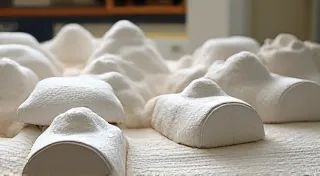
3. Shaping the Landscape
Once you have the basic shapes cut, you can refine them. Use sandpaper to round edges and create more natural contours. You can also use a hot wire cutter (with appropriate safety precautions) for more complex shapes, but this is generally for more experienced modelers.
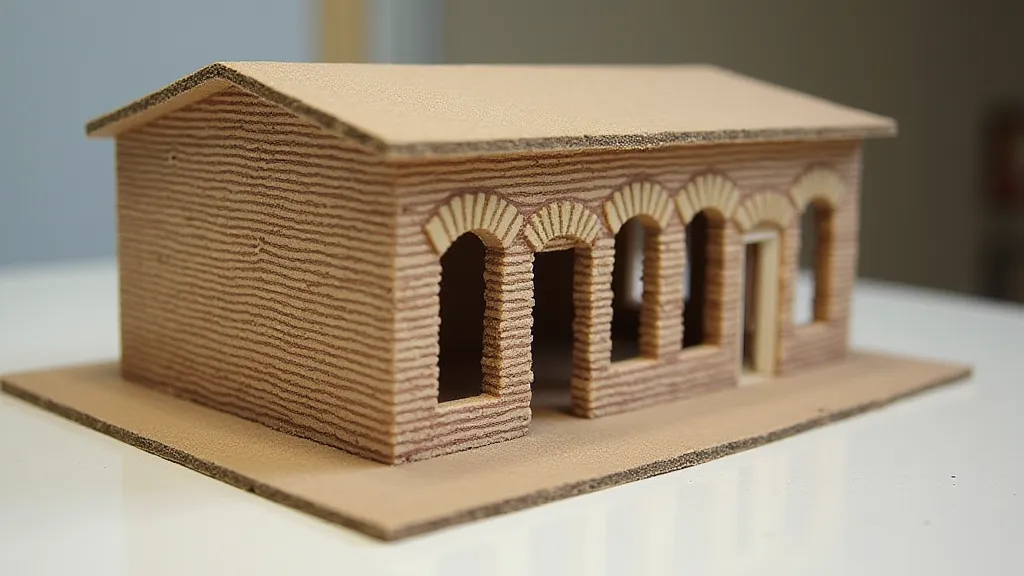
Building Structures with Foam Board
Foam board isn't just for terrain; it’s also excellent for constructing buildings, bridges, and other structures. Its lightweight nature makes it easy to handle, and it readily accepts paint and other finishing materials.
1. Designing Your Structure
Start with simple designs, like basic rectangular buildings. Draw out your plans on paper, paying attention to dimensions and angles.
2. Cutting and Assembling
Carefully cut out the pieces according to your plans. Use hot glue or foam board adhesive to assemble the structure. Reinforce corners and joints with additional pieces of foam board if needed.
3. Adding Detail
Foam board readily accepts texture. Use sandpaper to create stone or brick patterns. You can also carve details using a craft knife or other tools. Consider adding windows, doors, and other architectural elements.
Tips for Success
- Sharp Blades are Key: Dull blades tear the foam, creating a ragged edge.
- Work in Layers: For more complex shapes, cut the foam in layers.
- Seal the Foam: Before painting, consider sealing the foam with a primer to prevent the paint from soaking into the foam and potentially affecting its integrity over time.
- Experiment! Don't be afraid to try new techniques and materials.
Foam board is a fantastic material for beginners and experienced model railroaders alike. Its versatility, affordability, and ease of use make it a valuable addition to any modeler's toolkit. Happy building!