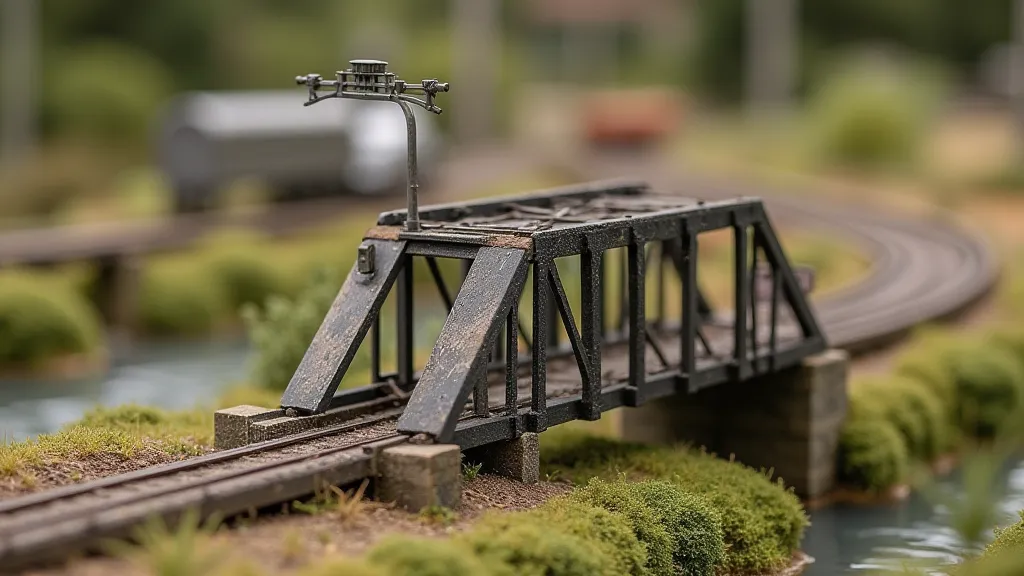
Building a Simple Railroad Bridge: Step-by-Step Guide
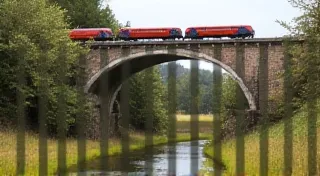
Building a bridge is a satisfying addition to any miniature railroad layout, adding realism and visual interest. This tutorial focuses on constructing a simple, sturdy bridge using easily accessible materials, perfect for beginners to the train hobby. We're aiming for a classic trestle bridge look.
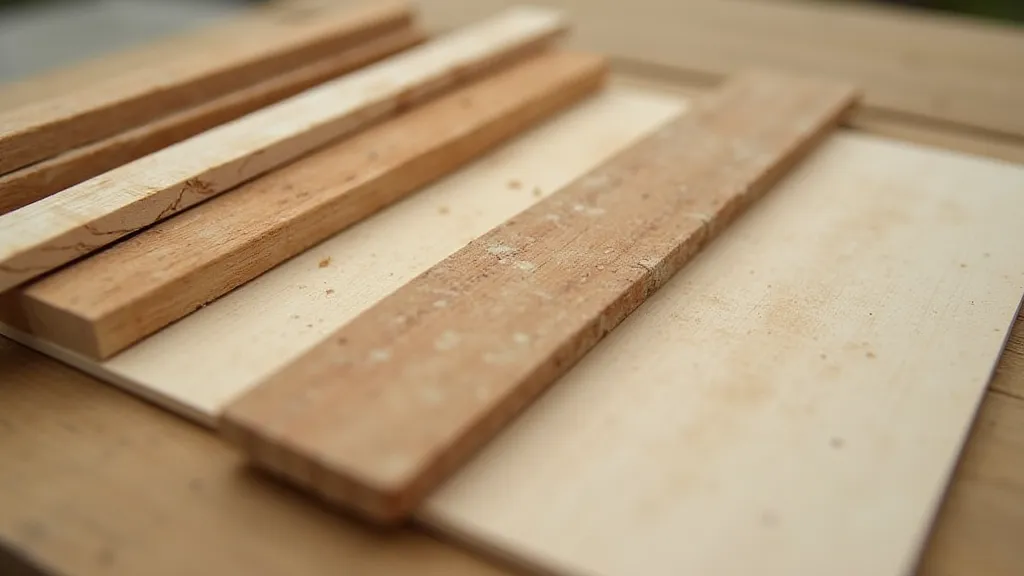
Materials You'll Need
- Wood: Balsa wood (1/8" or 3/16" thick) is ideal, but thin plywood or basswood will also work. You’re aiming for something easy to cut and glue.
- Wood Glue: A good quality wood glue is essential for a strong bond.
- Craft Knife or Hobby Saw: For cutting the wood to size.
- Ruler or Measuring Tape
- Pencil
- Sandpaper (medium grit)
- Paint (optional, for finishing)
- Clamps or Weights (to hold pieces together while the glue dries)
Planning Your Bridge
Before you start cutting, plan the size and span of your bridge. Consider the width of your track and the terrain it will cross. A simple bridge can be just a few inches long, but a more ambitious project can span a significant distance. Remember to account for the slope of the terrain where your bridge will sit.
Step 1: Cutting the Bridge Supports (Trestles)
The supports, often called trestles, are the foundation of your bridge. Cut four identical pieces of wood to the desired height of your bridge. These pieces will be the vertical supports. Then, cut four pieces to be the footings of the supports. These will be wider than the supports, and provide stability. The length of the footings will depend on the terrain you want the bridge to sit on. Ensure the widths are consistent across all pieces for a uniform look.
Step 2: Assembling the Trestles
Glue the footings to the vertical supports. Use wood glue and clamp the pieces together until the glue is completely dry. Ensure the corners are square. This is a crucial step for a stable bridge. Sand any rough edges after the glue has dried.
Step 3: Cutting the Bridge Deck
Cut a piece of wood for the bridge deck. This piece should be long enough to span the distance between your trestles and wide enough to comfortably accommodate your track. Consider adding extra width for a walkway or scenery.
Step 4: Attaching the Deck to the Trestles
Carefully position the bridge deck on top of the assembled trestles. Ensure it’s centered and level. Apply wood glue to the top of each trestle and secure the deck in place. Use clamps or weights to hold everything firmly until the glue is completely dry.
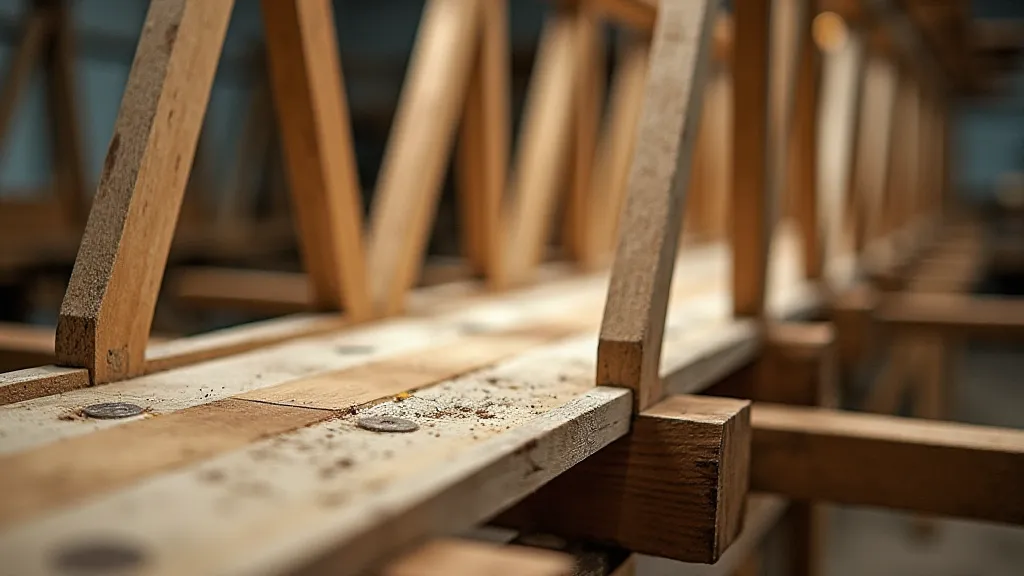
Step 5: Adding Cross Bracing (Optional)
For added strength and a more realistic look, consider adding cross bracing between the trestles. Cut small pieces of wood and glue them diagonally between the supports, creating an "X" shape. This is particularly important for longer spans.
Step 6: Finishing (Optional)
Once the glue is completely dry, you can sand any rough edges and apply a finish of your choice. This could be paint, stain, or a clear sealant. Consider weathering techniques to give the bridge a more aged and realistic appearance. This can be done by lightly applying washes of brown or grey paint.
Tips for Success
- Accuracy is Key: Precise measurements and cuts are essential for a well-built bridge.
- Let the Glue Dry: Don't rush the process. Allow plenty of time for the glue to dry completely before moving on to the next step.
- Test Fit: Before gluing anything permanently, do a dry fit to ensure everything lines up correctly.
- Experiment: This is just a basic guide. Feel free to experiment with different designs and materials to create a bridge that is truly your own.
Building a simple railroad bridge is a rewarding project that adds a touch of realism to any miniature railroad layout. With a little patience and effort, you can create a beautiful and functional bridge that will be the pride of your train hobby.