Building Realistic Water Features for Your Model Railroad
Adding water features to your miniature railroad layout instantly elevates its realism and visual appeal. Whether it's a meandering river, a serene lake, or a cascading waterfall, water can dramatically enhance the scene. This guide provides a step-by-step approach to creating believable water features, even for beginners.
Planning Your Water Feature
Before you start digging (literally!), careful planning is crucial. Consider the scale of your layout and the overall narrative. A roaring river might look stunning, but may not fit the scene if your layout represents a quiet rural valley.
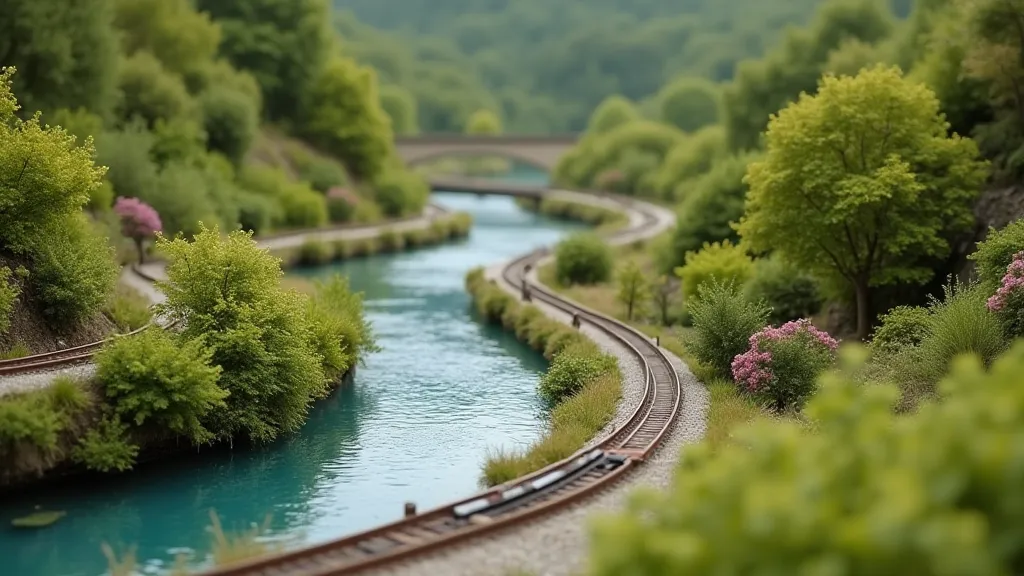
Location, Location, Location: Where will your water feature be placed? Consider the existing terrain and how the water will flow. A river will need a source and a destination, while a lake can be more freely placed.
Scale is Key: Remember to keep the scale of your water feature accurate. Overly large or small water bodies will break the illusion of realism.
Creating the Terrain
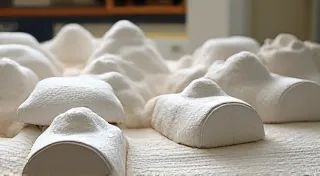
The foundation of any realistic water feature is the surrounding terrain. Use plaster cloth, foam, or a combination of materials to sculpt the riverbanks, lake shores, and cliffs.
Riverbeds: For rivers, create a gradually sloping riverbed. Avoid sharp angles or sudden drops. Use fine gravel and sand to mimic the natural riverbed texture.
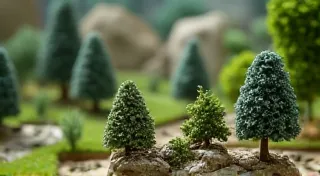
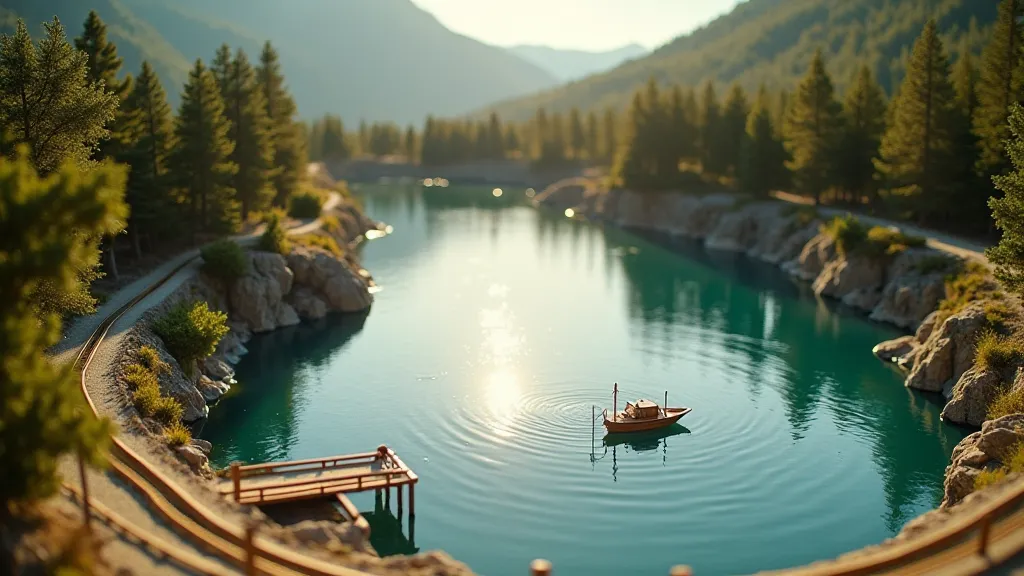
Lake Shores: Lake shores can be more varied, incorporating rocks, trees, and vegetation. Use static grass and flocking to create a natural-looking shoreline.
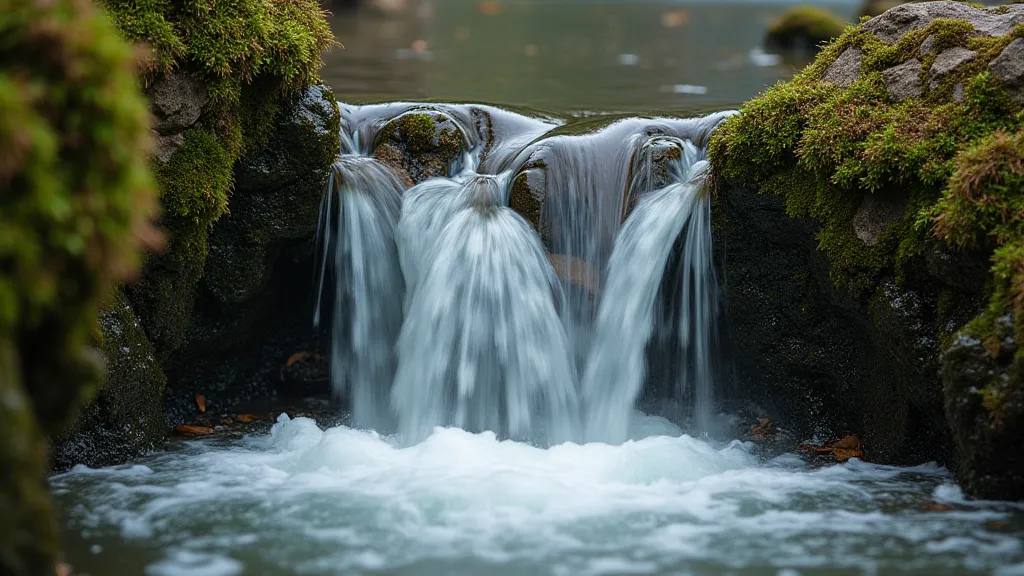
Waterfall Cliffs: Waterfall cliffs should be rugged and irregular. Use rock castings or build up layers of plaster cloth to create a convincing cliff face.
Creating the Water Surface
There are several ways to create the water surface itself. Each method has its own advantages and disadvantages:
- Puddle Mats: These pre-made mats provide a quick and easy solution. They are typically made of a flexible material that can be shaped to fit the terrain.
- Epoxy Resin: Epoxy resin creates a durable and realistic water surface. However, it can be more challenging to work with and requires careful mixing and application.
- Acrylic Gel Medium: This is a less expensive alternative to epoxy resin. It's easier to apply and clean up, but may not be as durable.
- Glazing: Using tinted glazing medium can simulate the look of water without the bulk of resin or gel. It's ideal for small ponds and still water features.
Adding Depth and Color: Regardless of the method you choose, consider adding depth and color to your water feature. Use layers of different shades of blue and green to simulate the depth of the water. A touch of brown can be added to simulate sediment.
Adding Details
The details are what truly bring your water feature to life. Here are some ideas:
- Rocks and Pebbles: Scatter rocks and pebbles along the riverbanks and lake shores.
- Vegetation: Add reeds, cattails, and other aquatic plants.
- Foam: Use flocking or foam to simulate white water rapids or waterfalls.
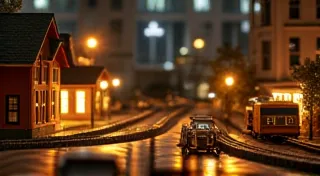
- Lighting: Submersible LED lights can add a magical touch to your water feature at night.
- Wildlife: Miniature figures of ducks, fish, or other wildlife can add further realism.
Tips for Realism
- Consider Water Flow: If you're creating a flowing river or stream, ensure the water flows convincingly.
- Reflections: Use glossy paints or varnish to simulate reflections on the water surface.
- Sediment and Algae: A touch of brown or green can simulate sediment or algae, adding a more natural look.
- Keep it Clean: Regularly clean your water features to prevent algae buildup and maintain their appearance.
Building realistic water features can be a rewarding challenge for any miniature railroad enthusiast. With careful planning, attention to detail, and a little creativity, you can transform your layout into a stunning and immersive world.