Mastering Trackwork: Ensuring Smooth Train Operation
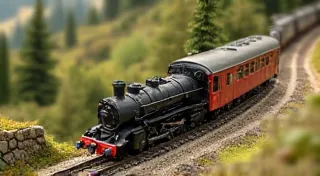
A beautifully designed railroad layout is only as good as its trackwork. Jerky trains, derailments, and frustrating stalls are common issues for beginners, but with a little know-how and careful attention to detail, you can achieve smooth, reliable operation. This article will cover essential techniques for mastering trackwork in your miniature railroad layout.
Foundation: Track Alignment and Leveling
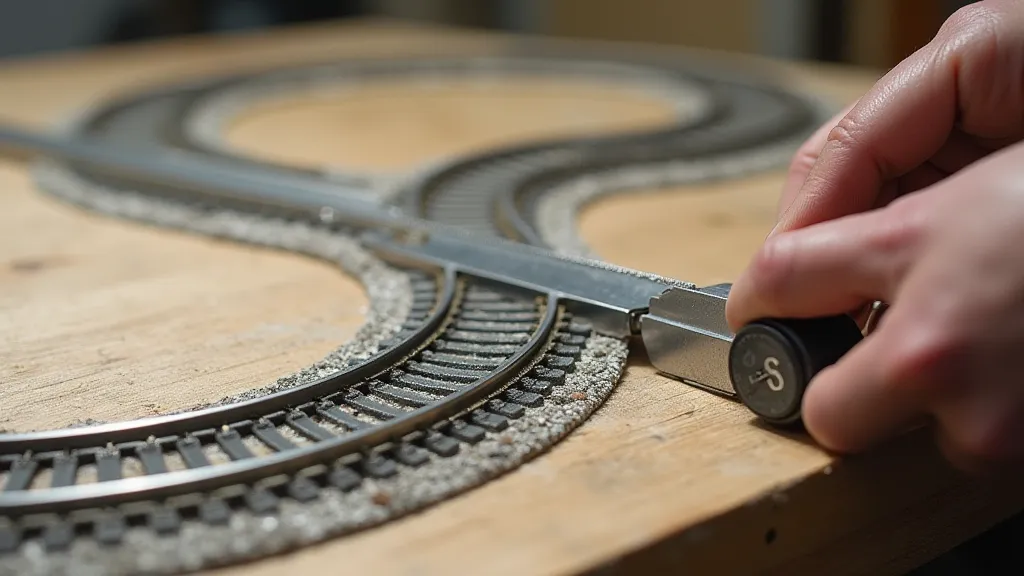
The cornerstone of good trackwork is proper alignment and leveling. Even slight deviations can cause problems down the line. Start with a solid foundation. Your sub-base (plywood, foam, etc.) must be perfectly level. Use a long level to check across the entire area, and shim as needed. When laying your track, use a straight edge to ensure each section is straight and aligned with the previous section. Small inconsistencies compound, so take your time and be meticulous.
Many modelers use track laying jigs to maintain consistent alignment. These jigs are commercially available or can be easily fabricated yourself. They provide a guide for straight sections and curves, keeping the track in the desired position while you secure it.
Understanding and Using Turnouts
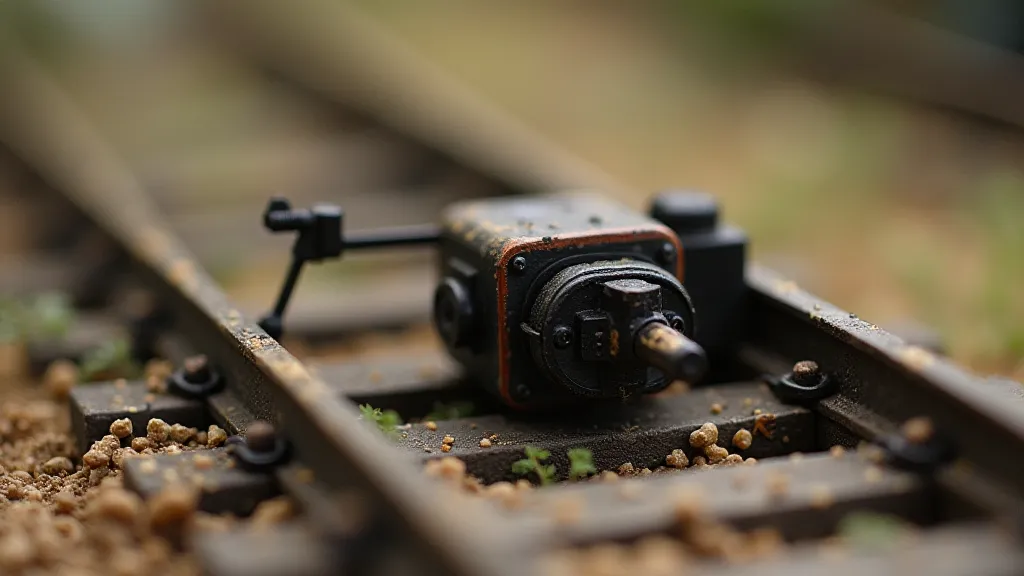
Turnouts (also known as switches or points) are critical for allowing trains to change tracks. Poorly functioning turnouts are a frequent source of problems. Here's what to consider:
- Placement: Strategic placement of turnouts is important for efficient operation and realistic track arrangements. Consider the flow of traffic and potential bottlenecks.
- Wiring: Turnouts require electrical connection to control their operation. Ensure clean, reliable wiring. Power routing is crucial to keep locomotives running properly through the turnout.
- Maintenance: Turnouts need occasional cleaning to remove dust and debris that can impede their movement. Use a turnout cleaning tool or a cotton swab dipped in rubbing alcohol.
- Throwbar Adjustment: The throwbar (the part that moves the points) may need adjustment over time. Consult the manufacturer's instructions for proper adjustment.
Dealing with Bumps and Stalls: Troubleshooting Common Issues
Even with careful planning, bumps and stalls can happen. Here's how to diagnose and fix them:
- Track Joiners: Loose track joiners are a common culprit. Ensure they are firmly seated. If they are old or damaged, replace them.
- Track Profile: Check the profile of the track. Are there any dips or high spots? These can be caused by uneven sub-base or track flexing. Gently pressing down on the track can often resolve minor issues. For more significant problems, consider shimming the track or adjusting the sub-base.
- Rail Height Variations: Subtle differences in rail height can cause trains to "hunt" (the wheels shift back and forth). This can be a challenging problem to fix, often requiring careful shimming and track adjustment.
- Wheel and Gear Condition: The locomotive's wheels and gears must be in good condition. Dirty or damaged wheels can cause derailments and stalls. Keep your locomotives clean and lubricated.
- Power Supply: Insufficient power can lead to stalls, especially on grades or with long trains. Ensure your power supply is adequate for the demands of your layout.
Advanced Techniques
Once you're comfortable with the basics, consider exploring these advanced techniques:
- Code 75 vs. Code 55 Track: Code refers to the rail height. Lower rail heights (Code 55) offer a more realistic appearance but can be more sensitive to track alignment issues.
- DCC (Digital Command Control): DCC allows for independent control of multiple locomotives on the same track, simplifying operation and enhancing realism.
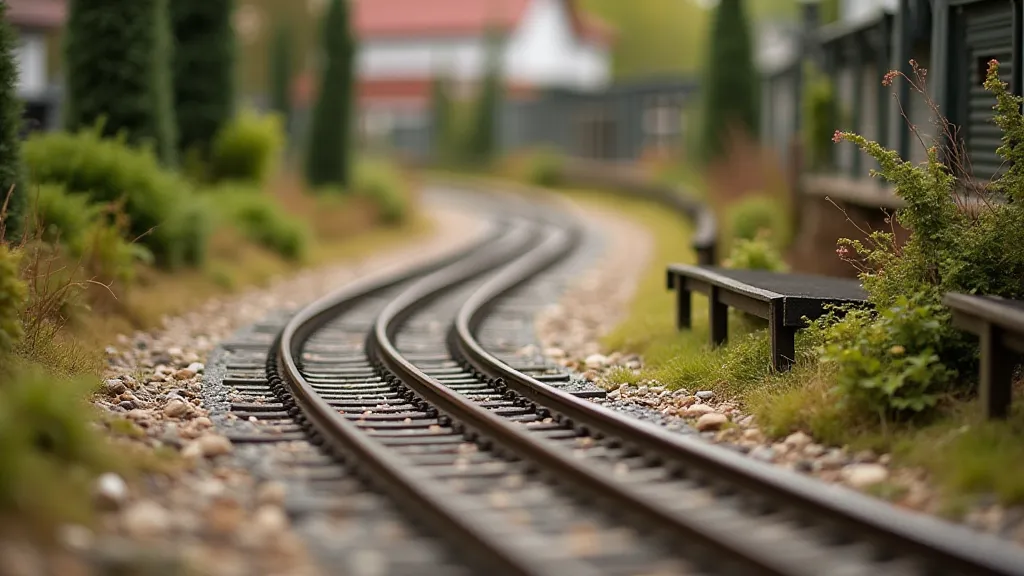
- Track Bed Detailing: Adding ballast, ground cover, and other details around the track adds realism and helps hide any minor track imperfections.
Conclusion
Mastering trackwork is an ongoing process. With patience, attention to detail, and a willingness to experiment, you can build a miniature railroad layout that operates smoothly and reliably, bringing your railroad dreams to life. Enjoy the journey!